
Learning how to use my markers more efficiently, I’ve gotten really into creating my own images. I’m not the best drawer so I try to use the products I have to make more precise pictures. Today, I used Lawn Fawn’s Circle Stackables Lawn Cuts to draw a beautiful dreamcatcher.

I started by drawing the outline circle of the dreamcatcher with the inside of my larger circle die. I then took a pencil and drew 8 evenly spaced dots around my circle (top, bottom, left, right, and the 4 points between), and a dot right in the center. I used a pencil so I could easily erase these dots later on. I then used the smaller circle die, placed it between two dots, and traced this petal shape using my 0.3 COPIC multiliner. Altogether, it takes 18 of these curved lines to create the center of my dreamcatcher.
It may seem daunting and tedious at first, but it was actually SUPER simple, only took about 5 minutes to create, AND now I can make almost any size dreamcatcher I want using the same steps.


I then used the Simon Says Stamp and Lawn Fawn Collaboration Set ‘Feathered Friends’ to stamp some feathers to hang from three points on my dreamcatcher.

I used my COPIC multiliner again to draw in the strings connecting the feathers.

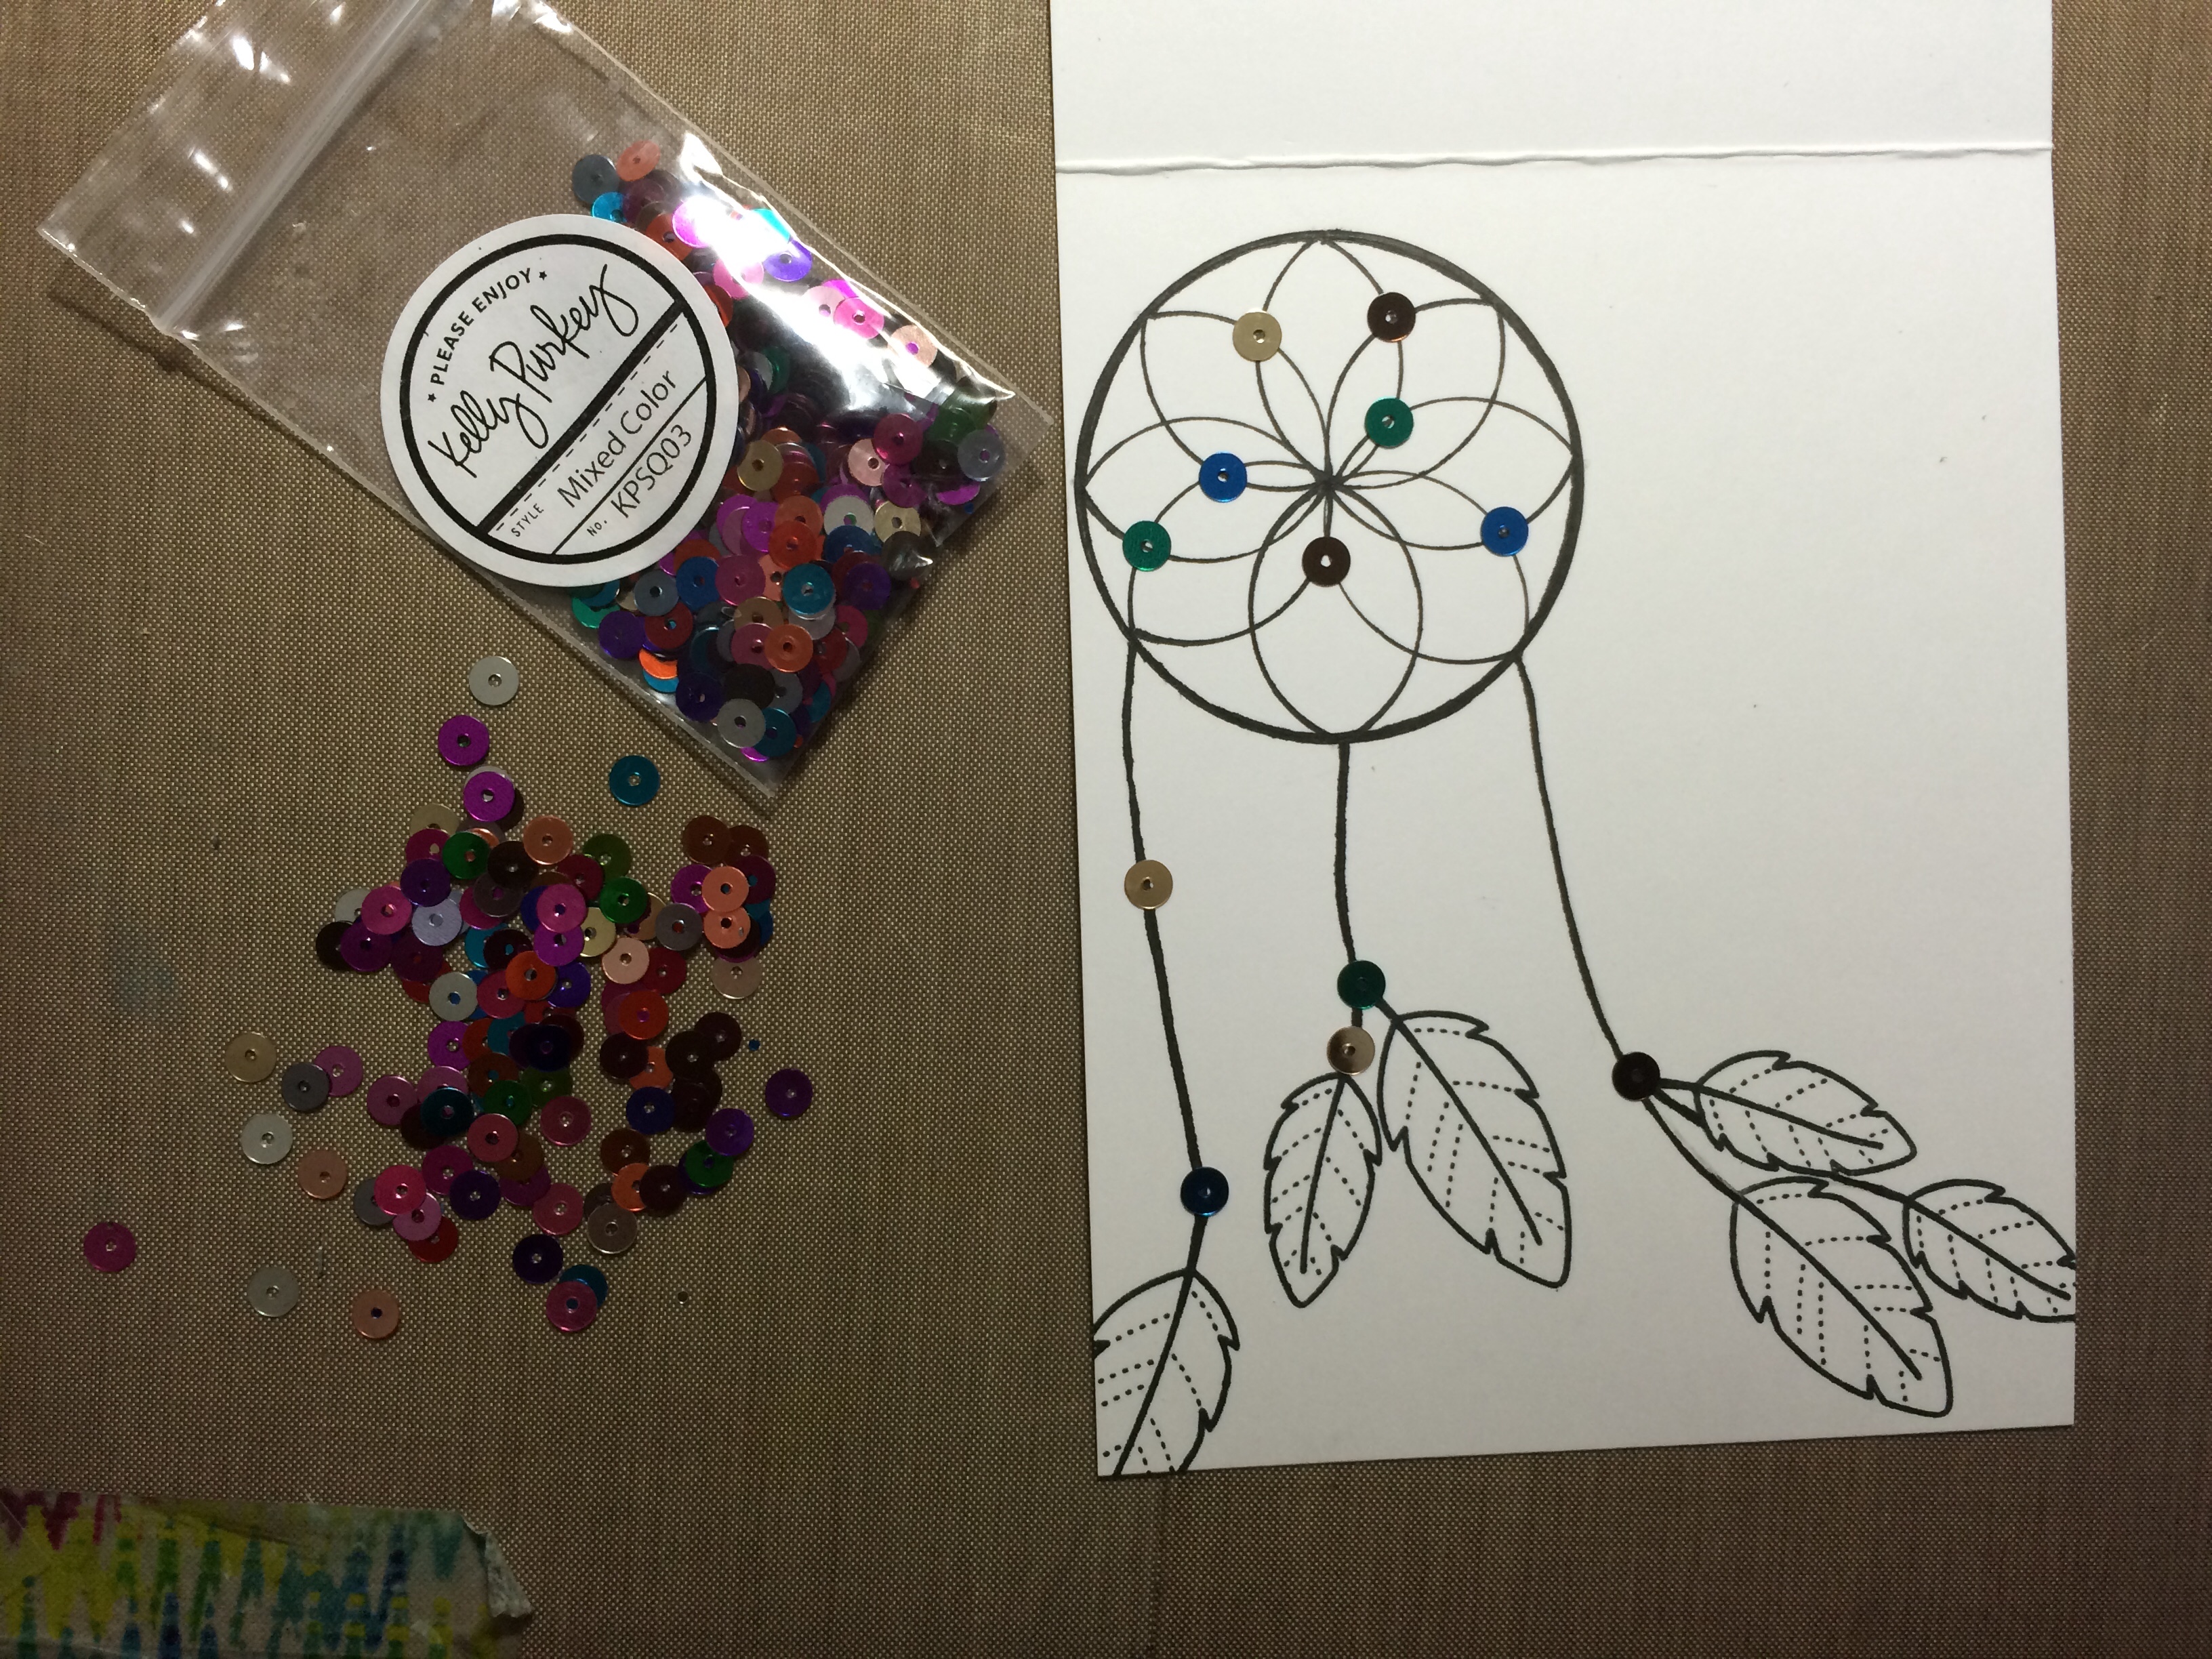
Before I colored the feathers, I wanted to make sure I had a good color palette. Even though it is unconventional to add sequins before you color, I went ahead and did it anyway to give myself a better idea of the COPICs I needed to use. I added these flat sequins by Kelly Purkey from her Metallic Mix. I love how these flat sequins end up looking like beads on the strings of my dreamcatcher!
Now I was ready to color! I used a technique that I learned in the COPIC Markers for Card Makers Class that I have been using ALL the time. I put a layer of Colorless Blender over my image, add whatever colors I want to the areas I want to have shade or be darker, then I bring the Colorless Blender back in to soften all the edges. I have never loved coloring so much with my COPICs! You can get some really light, pastel, and watery-looking images coloring this way.
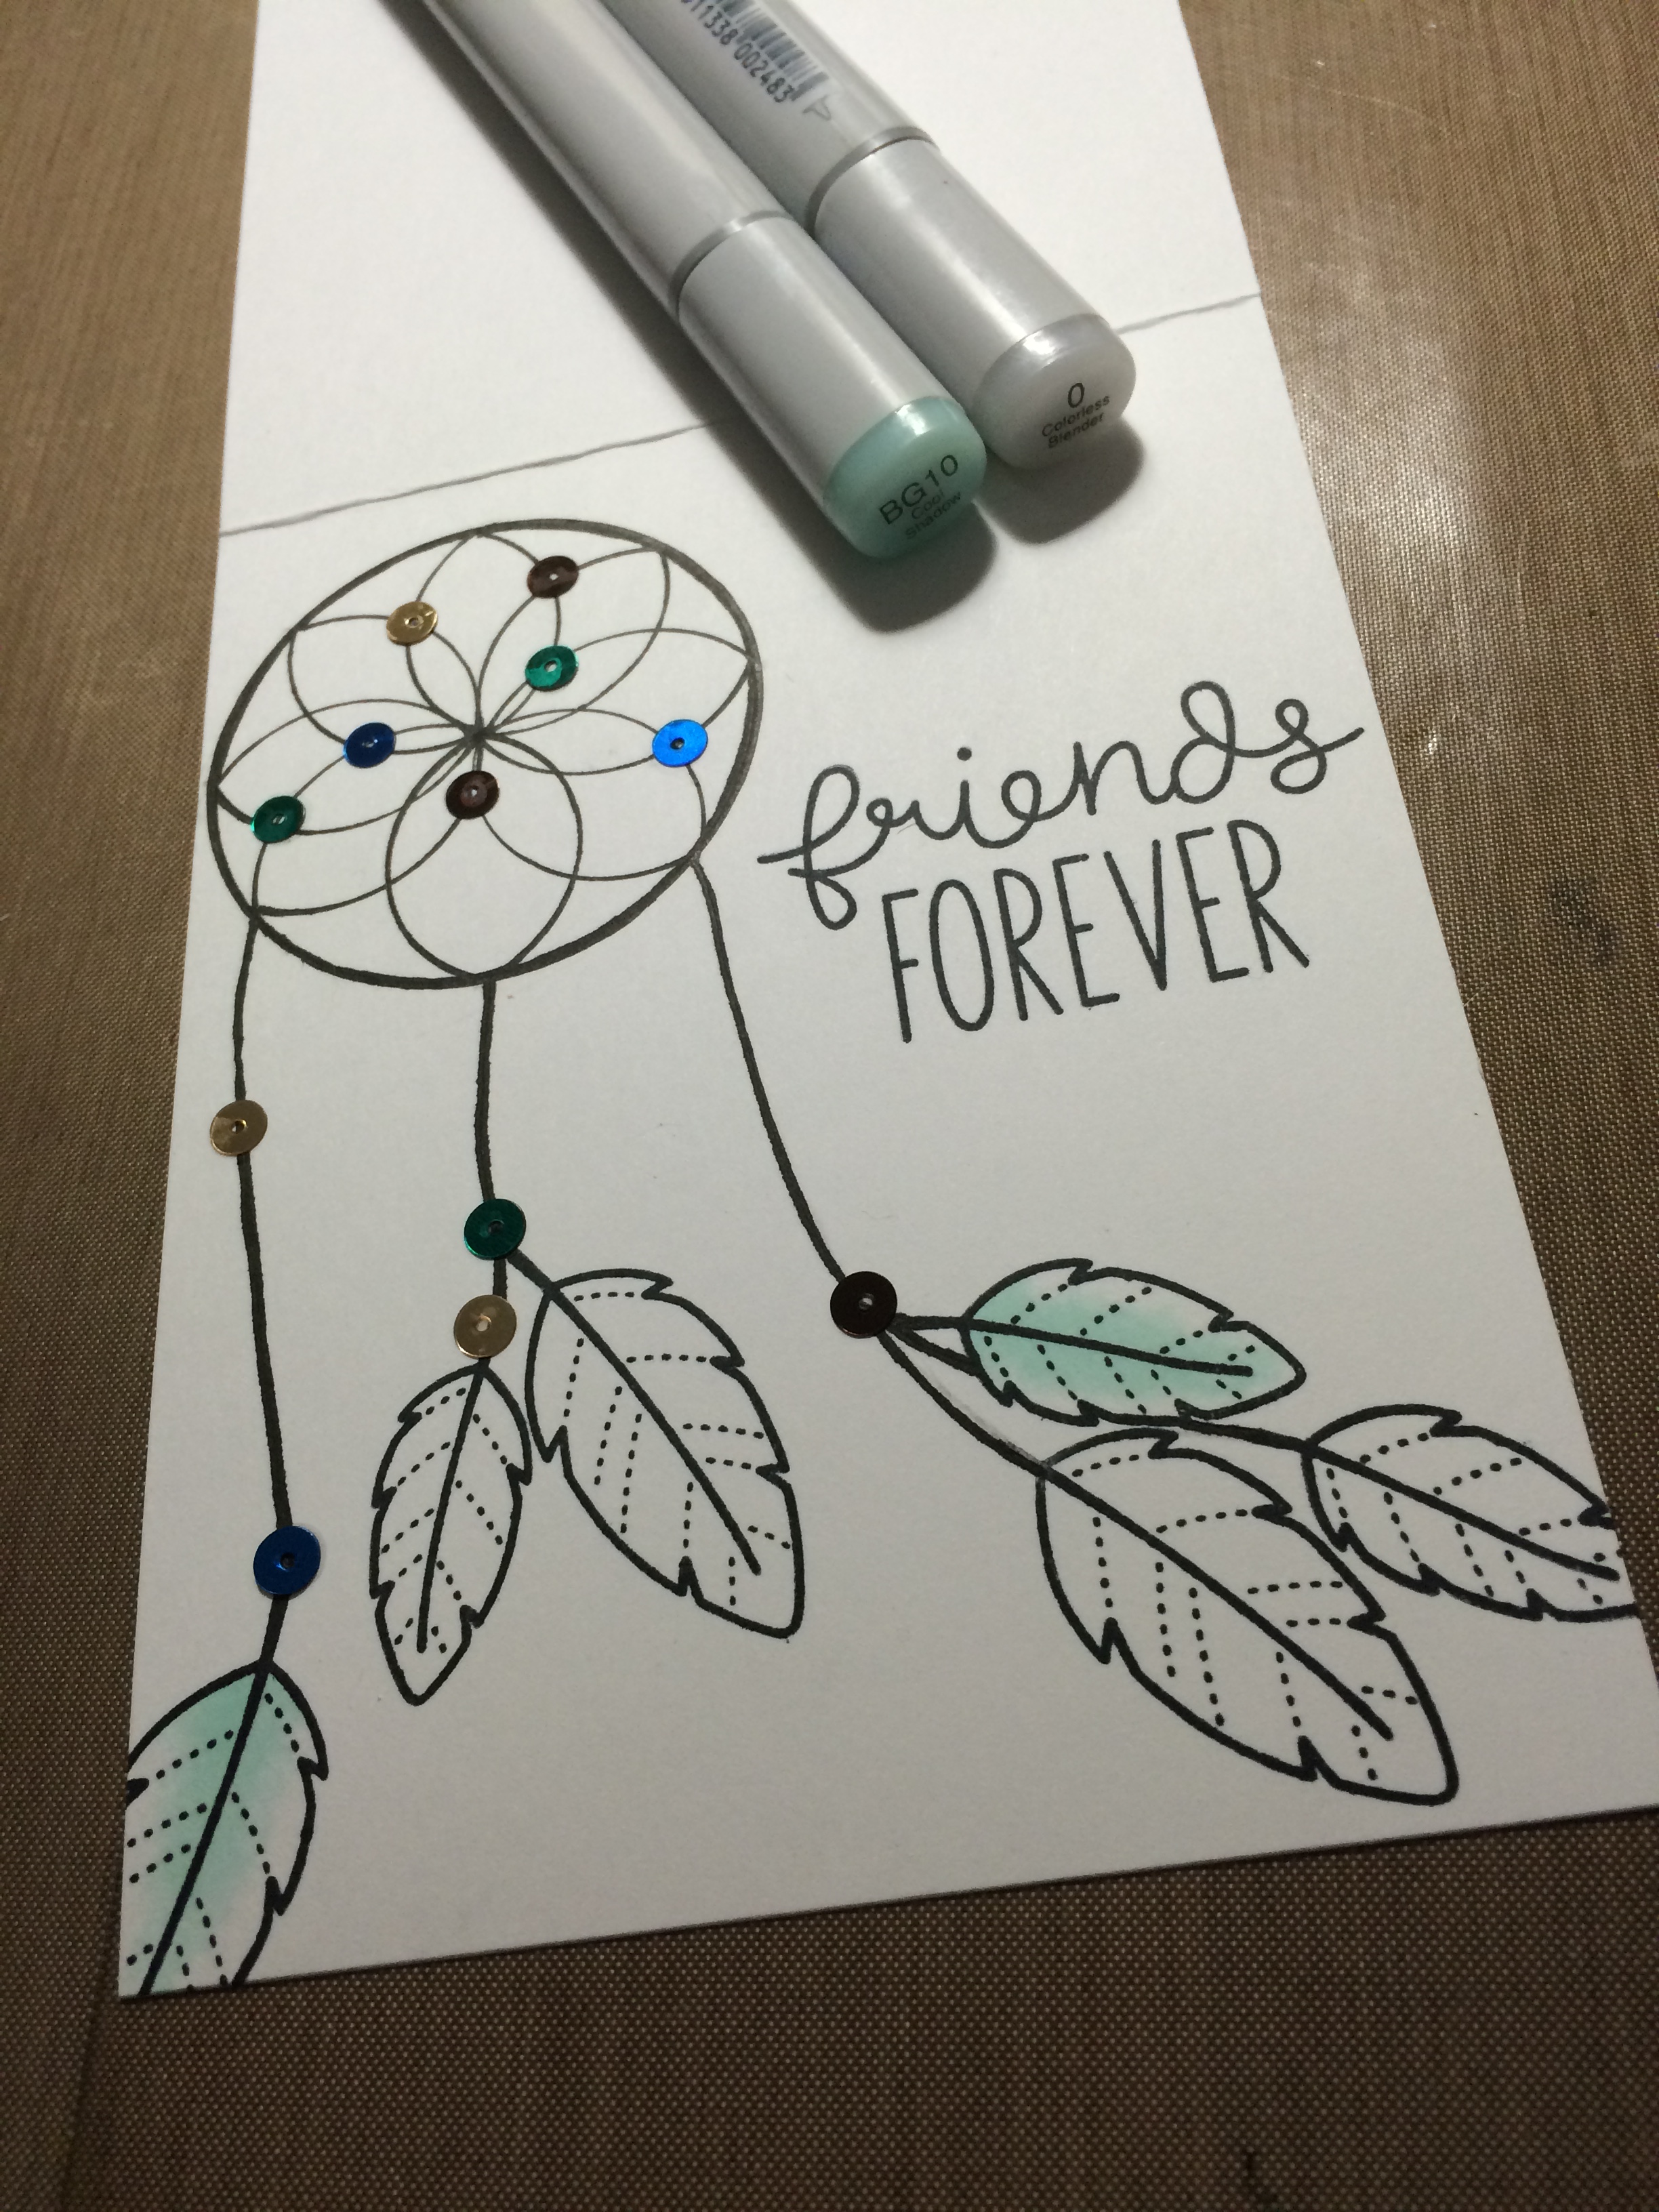
Because I really wanted my custom image to be the focus, I kept this card one-layer and extremely clean. I only added a touch of my Wink of Stella Glitter Brush to the feathers, stamped the ‘friends forever’ sentiment, and I was done!

I have the perfect friend to send this card to, and even though this card is lovely – it’s not nearly as gorgeous as she is!
 Thanks for stopping by!
SUPPLIES:
            |

I just wanted to let you know that we loved your project and we gave it a shout out on the Paper Crafter’s Library Facebook page. https://www.facebook.com/papercrafterslibrary
Congratulations, it’s a great card, amazing!!