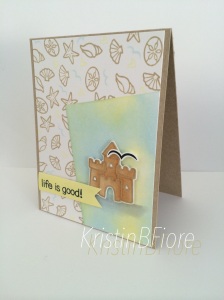
I’ve been seeing people creating these off centered and slated backgrounds on their cards, and I really wanted to see of I liked this technique because I usually like things on my cards nice and square and centered.
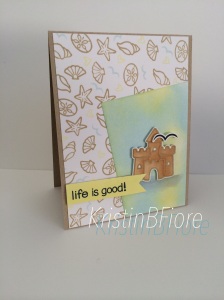
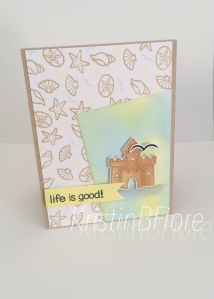
This card was so unbelievable simple to create. I took a few smaller images from Lawn Fawn’s Life is Good Stamp set and created my own patterned paper using Simon Says Stamp’s Khaki Ink and by constantly turning the stamps to create a random pattern. I then took the tiny heart and tiny bird and stamped them randomly with some Hero Arts White Pastel Inks to fill in any empty spaces of the background.
For the slanted panel I used those same yellow and blue white pastel inks and the Tim Holtz Mini Ink Blender to lightly blend those inks onto a piece of Neenah Solar White Cardstock. I then used the yellow ink and put it directly to paper to create the sentiment strip. I also stamped the castle and large bird stamp and stamped, colored, and die cut them.
Lastly, I stamped the “Life is Good” and “!” onto my yellow sentiment strip, made a pennant end with a pair of scissors, and assembled the card popping up the castle and bird with some foam tape!
I hope you enjoyed this card! I think it’s so “beachy” and beautiful! Just another great card using great products!
SUPPLIES:
CLICK HERE for Lawn Fawn’s Life is Good Stamp Set

