Happy Wedding Revealed!

Summer 15 Inspiration Week

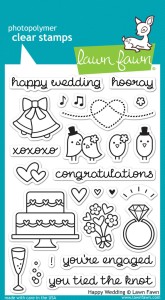
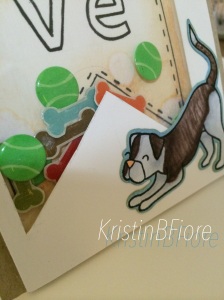
Okay, so I am semi-obsessed with this next set! I love weddings, I love love, and the Happy Wedding Stamp and Die Sets are so fun to play with!

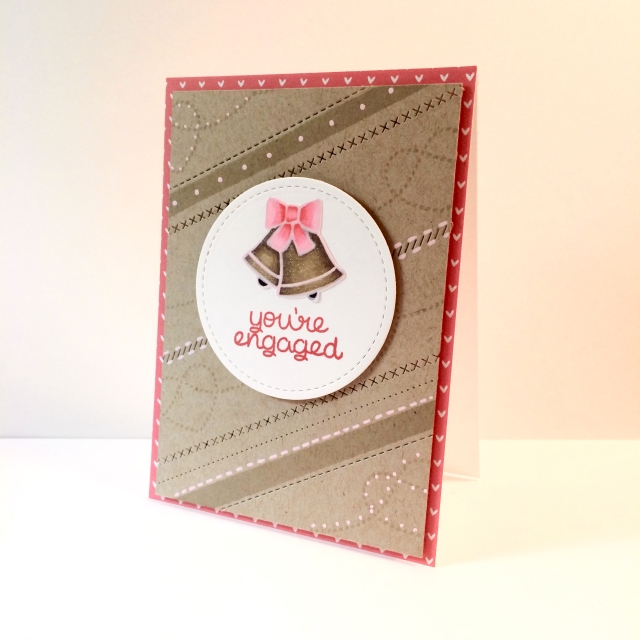
You're Engaged Card

This first card is my favorite! I used the Stitched Borders Die Set to make this absolutely adorable background! I stamped the bells in a really light color so when I used my COPIC markers, the lines disappeared! I then got a little happy with one of my Sakura Souffle Pens in pink and added little touches throughout the card! The pens are awesome because they add a slight embossed/raised texture to whatever you draw!

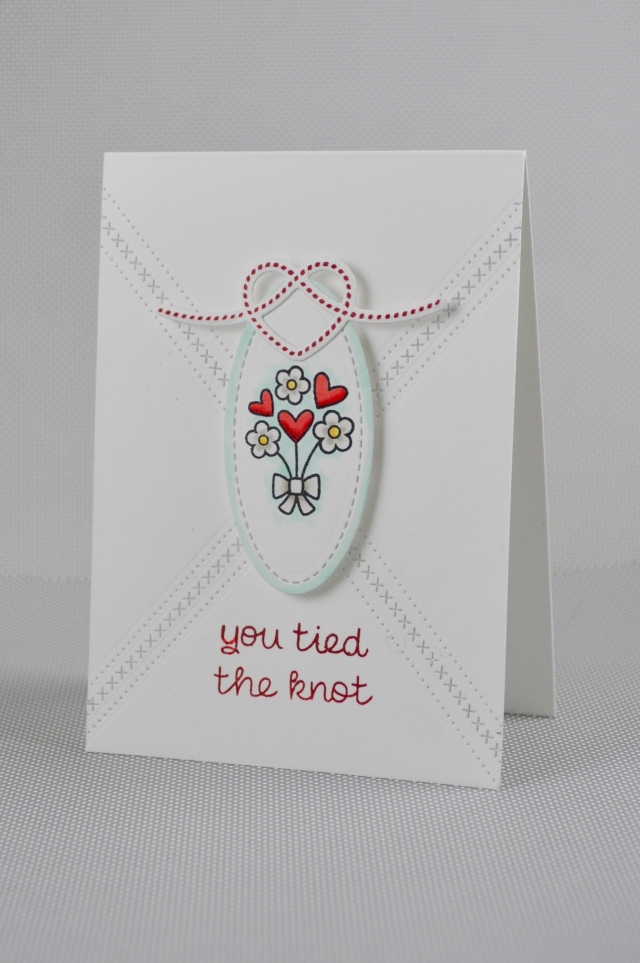
You Tied the Knot CardFor this card, I wanted something really simple and easy to re-create! I used the bouquet from the set and colored it with the most basic COPIC coloring.

Can you please look at how amazing that die is for the tied heart!?! Just beautiful!

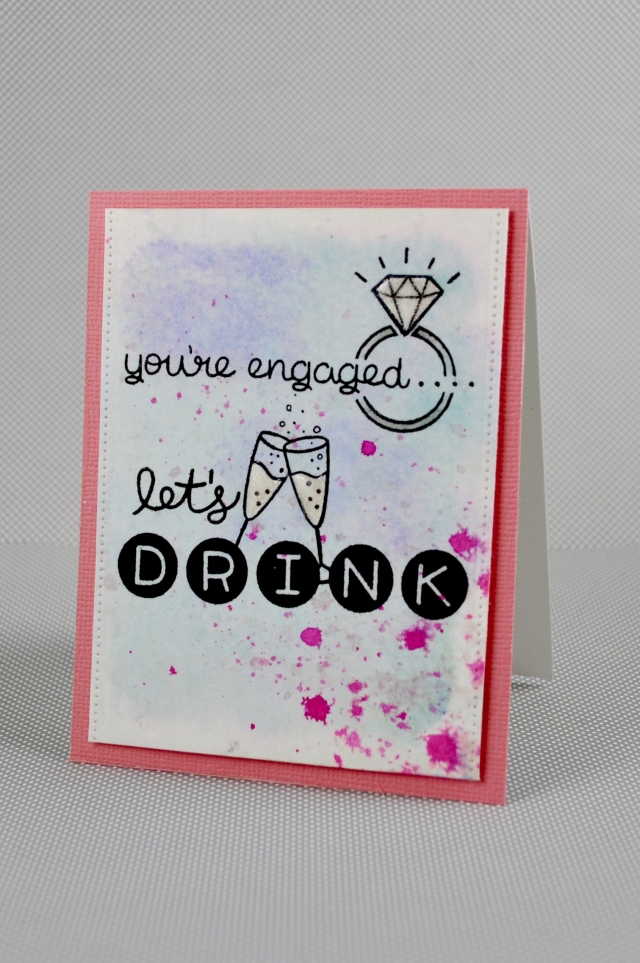
You're Engaged, Let's Drink Card

This last card was me just having fun crafting! I used some Distress Inks to make a watercolored background then used some images from the Happy Wedding set to make a fun sentiment. I also stuck in a little sneak of another new set from the summer release. Any guesses?!

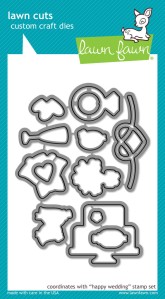
Happy Wedding DiesHappy Wedding

I love how Lawn Fawn packs so many images into their sets! You get so many stamps for the cost! Remember to stop by the Lawn Fawn Blog for your chance to win this totally adorable set!

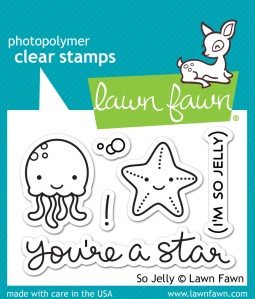
So Jelly is So Cute!

Summer 15 Inspiration Week

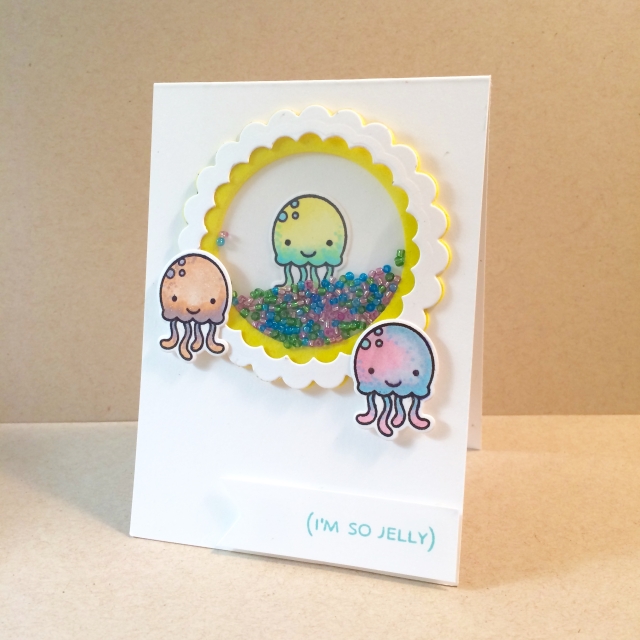
Im So Jelly Shaker Card

Are you not loving this Lawn Fawn release so far!?! It is so amazing and there is so much more still to come!

Today Kelly and the fawnies are giving you a look at the So Jelly Stamp and Die sets as well as the Ocean Wave Borders Set! I made this adorable shaker card because I feel like these little jellyfish look like they’re movin’ and groovin’ the night away! Instead of sequins I used seed beads which give the card so much more shake that you can really see and hear in real life!

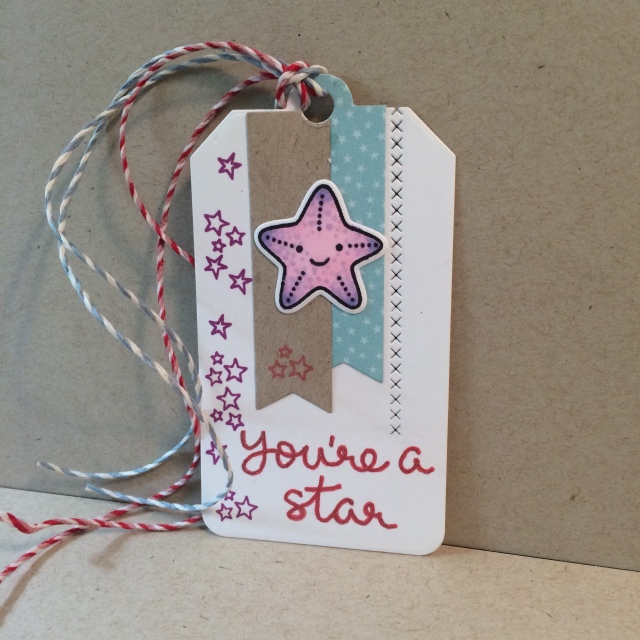
Youre a Star Tag

I also made this cute tag using the star from the So Jelly Set. I also snuck in a Stitched Border and some flags from the Small Stitched Journaling Card Die Set.

PS If you liked the ink colors I used… just wait until next week 😉

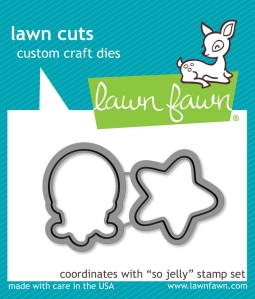
So Jelly Dies So Jelly

Thank you for joining me again! Don’t forget to head over to the Lawn Fawn Blog for another giveaway today!

Are You a Party Animal?

Summer 15 Inspiration Week

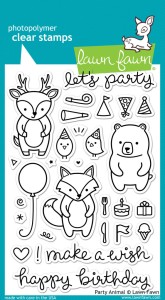
Today on the Lawn Fawn Blog, we are revealing the brand new Party Animals Stamp and Die sets that will be released next week!

This set is so fun and cute! It is not only great for birthday cards, but the critters go along with so many other Lawn Fawn sets!

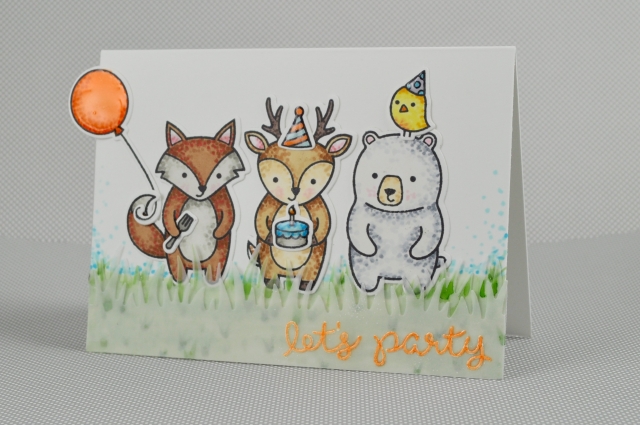
Party Animal Card

For this first card, I wanted to really showcase the set! There are so many images in this set, I would challenge anyone to use all the images on one card!

I used a coloring technique I learned from Jennifer McGuire that adds so much texture to any image. I got a little obsessed and dotted all the COPIC coloring on this card. Even the grass got some dottin’!

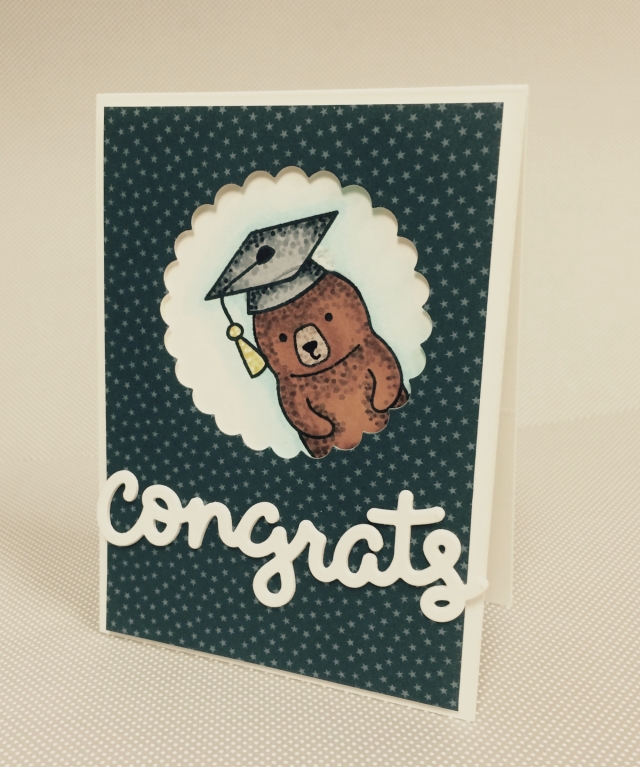
Congrats Party Animal Card

Okay, so I just could not stop with the dot coloring! I made this card for a young friend graduating from 8th grade soon! I love how the critters from the Party Animals Stamp Set go so perfectly with any of the hats from the Hats Off to You Set.

This card also gives you a look at one of our new stand-alone word dies! The Lawn Fawn handwritten sentiments in the stamps and dies are so great because they can be playful and girly while working on masculine cards just as well!

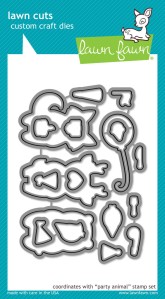
Party AnimalParty Animal Dies

I want to point out that our card camera has been having some issues, so I’m sorry ahead of time if the picture quality of my cards is not 100% this week!

I hope you love this new set, and I cannot wait to see what you create with it when you get your hands on it next week!

Thank you so much for checking in with me, and make sure you check out the Lawn Fawn Blog for fun inspiration and giveaways all week!

Monochromatic Egg Patch Easter Card

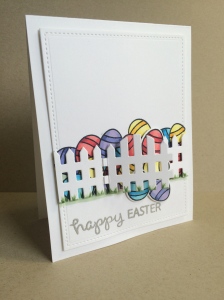
Happy Easter!

IMG_3494

I hope everyone enjoys this special day filled with family and fun! 

Click the picture below to watch the video!

Thank you so much for tuning in!

Supplies:

CHA 2015 Photos

Hi!!

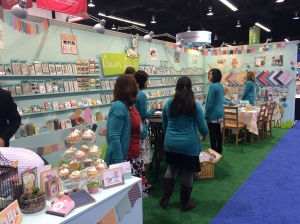
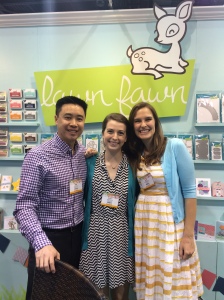
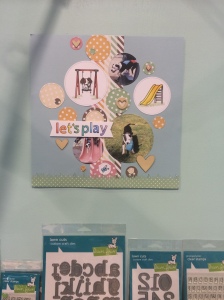
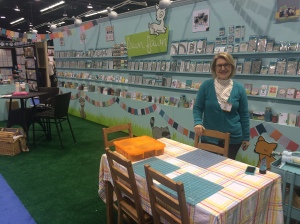
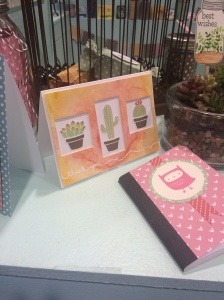
First I must apologize for not posting in so long, but Lawn Fawn has been busier than ever! I was so excited to attend my first CHA over the weekend and I must say – being able to connect faces to names and voices I’ve heard for a year is so rewarding! If you follow me on Instagram, you have probably seen some of the pictures below – but I definitely wanted to share some pictures of my cards throughout the booth! Enjoy!

IMG_3190

Day 1

IMG_3191 IMG_3194

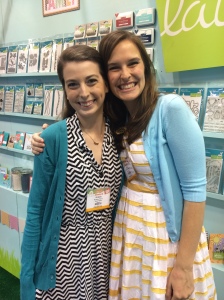
Me and my crazy-amazing bosses

IMG_3202

Even Jax got to be in the booth!

IMG_3204

Look at Nancy all ready for a busy Day 2

IMG_3199

A watercolored card using our new “Stuck on you”, “Scripty Sayings”, and “Stitched Square Lawn Cuts”.

 IMG_3200

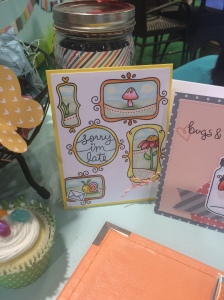
“Flirty Frames” and “Gleeful Gardens”

IMG_3201

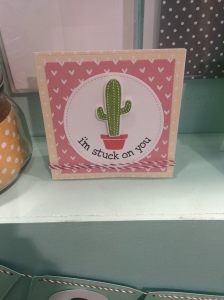
“Stuck on You” and our awesome new paper (this was also a make-and-take at the show)

IMG_3203

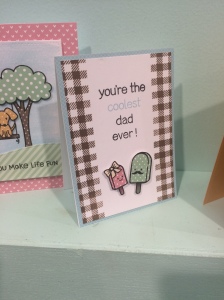
Is that my dad? Yep… “Gingham Backdrops” and “Best Pun Ever” Stamp Sets.IMG_3205

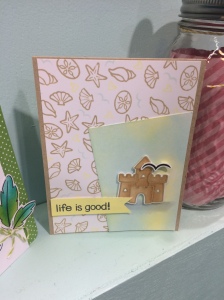
Lastly, and oldie-but-goodie “Life is Good” card!

Thanks for all the support even though I’ve been away!

Let’s Get Creepy with Perfect Paper Crafting

Attachment-1 (1)

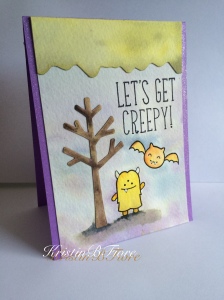
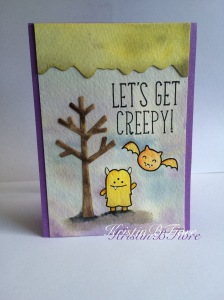
Today I have this adorable card for you using the Perfect Paper CraftingPerfect Tears” tool and some of Lawn Fawn’s newest products.

IMG_2291

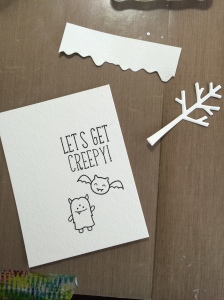
I started out with some Strathmore Watercolor Paper. I stamped my images from the Monster Mash Stamp Set and the Spooktacular Stamp Set, as well as my adorable sentiment using the Violet’s ABCs Stamp Set. Then I die cut the tree from the Sweater Weather Lawn Cuts and used the Perfect Tears “Course Deckle Edge” to create a gooey border. I did use a small pair of precision scissors to clean up the edges from the tear just a bit.

IMG_2293

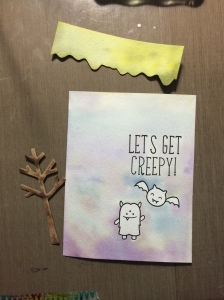
The next part is always my favorite…. WATERCOLORING. For this card, I used some of my Distress Ink Minis. For the background I used Pumice Stone, Stormy Sky, and Dusty Concord – for the ooey gooey border I used Crushed Olive, Forest Moss, and Peeled Paint – and for the tree I used Frayed Burlap, Gathered Twigs, and Walnut Stain. I let all of those dry completely before painting the monsters.

For the monsters – I used Spiced Marmalade and Mustard Seed, then I added some Pumice Stone and a tiny bit of Black Soot under the fury monster and tree to give them some ground to stand on. Once everything was dried I used my Tombow Stamp Runner to add adhesive to all of the pieces and adhere them in place. Lastly, I made my card base out of some purple cardstock and ran my Wink of Stella Glitter Brush along the two long sides to give it some shine.

IMG_2306

So easy and so cute, right?!  I hope you enjoyed this fun, creepy card! Please let me know if you have any questions or comments! Have a great day and thanks for reading!!

For supplies, please click on the links throughout this post. I’ve been having some trouble using InLinkz and will put up a proper supply list once I get back on track.

Lawn Fawn Fall/Winter 2014 Release Card Explosion

I simply have an explosion of cards that I’ve made using the new stamps and dies from Lawn Fawn that officially release tomorrow!! Check out all the cards and let me know what you think! Hopefully I’ll be sending everyone fun packages tomorrow from LFHQ…. don’t forget to get your orders in early!

photo_1[2] photo_2[1] photo_3[1]

Using Snow Day 6×6 Petite Paper Pack, Snow Day Stamp Set, and Winter Penguin Stamp Set

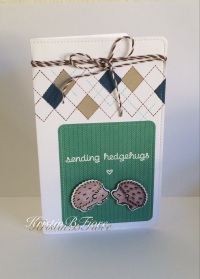
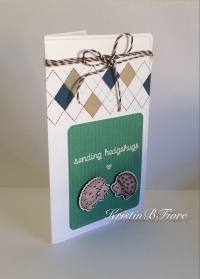
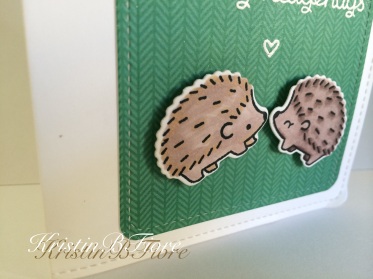
photo 1 photo 2 photo 3

Using Hedgehugs Stamp Set, Sweater Weather 6×6 Petite Paper Pack, and Argyle Backdrops

 photo 1 photo 2photo 3

Using Sweater Weather 6×6 Petite Paper Pack, Finley’s ABCs Lawn Cuts, and Stitched Hillside Lawn Cuts

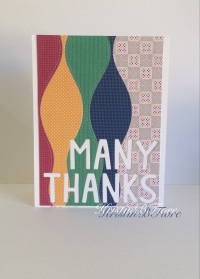
photo_1[1]photo_2[1]photo_3[1]

Using Sweater Weather 6×6 Petite Paper Pack and Argyle Backdrops (also Scripty Thanks and Stiched Leaves Lawn Cuts)

photo 1 photo 2 photo 3

Using Sweater Weather 6×6 Petite Paper Pack and Sweater Weather Stamp Set (DIY shaker pieces from images from the papers)

photo 1 photo 2 photo 3

Using Small Stitched Rectangles Lawn Cuts and Snow Day Stamp Set

photo 1 photo 2 photo 3

Using Snow Day 6×6 Petite Paper Pack, Finley’s 123s Lawn Cuts, and Violet’s ABCs Stamp Set

photo 1 photo 2 photo 3

Using Stitched Snowflakes, Snow Day 6×6 Petite Paper Pack, and Snow Day Stamp Set

And here are some awesome 1-Layer Cards….

photo 1 photo 2 photo 3

Using Spooktacular Stamp Set

photo 1 photo 2 photo 3

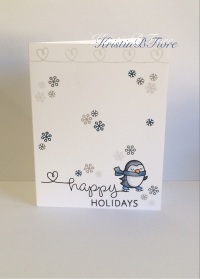
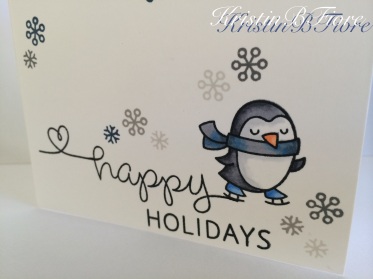
Using Winter Penguin Stamp Set

photo 1 photo 2 photo 3

and finally using Milk and Cookies Stamp Set! (who said milk has to be white?)

Check out the Lawn Fawn retail store for Stamp and Lawn Cut Sets!


“I’m a REAL robot!” Card Using Lawn Fawn and Add a Little Dazzle

A robot made of REAL metal!! What!?!?

Attachment-1

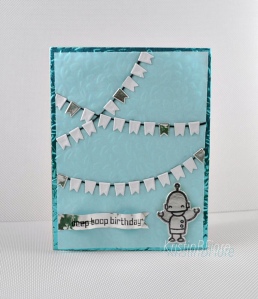
This week on the Lawn Fawn blog we have been showcasing the versatility of Add a Little Dazzle‘s metal sheets. I got a little too excited with all of the possibilities and tried to cram as many of the ways to use these sheets as I could into this one card and short post.

I used a Fiskars texture plate and a sheet of Perfect Peacock metal to create the soft floral background to play off of a hard and soft theme.  I die cut the flags from both sides of a sheet of Wondrous White metal using the Stitched Journaling Card Lawn Cuts, and adhered them to a piece of vellum using some Glossy Accents in a flowing pattern. I stamped the robot and sentiment from the Beep Boop Birthday Stamp Set on the aluminum side of a metal sheet with StazOn Jet Black Ink. I cut out the robot with its coordinating die and trimmed the sentiment into a thin strip with a flag end.  I popped up the robot with foam squares and bent the sentiment strip into a wavy piece to create my last soft element.

I hope I succeeded in pulling off the hard and soft theme of this card, but if not I still got to put a real metal robot on a card!

SUPPLIES:

Clear Card Made Easy Using Xyron Products

photo

I’m so excited to share my first clear card!

I’ve been seeing so many crafters making these lately, and I really wanted to try it out and review it for myself.  I could not have chosen a better plan seeing how I got the opportunity to use some Xyron products that make these cards 99% easier!
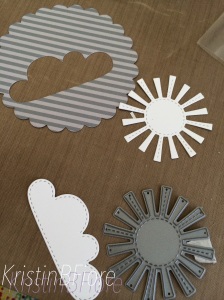
photo 4

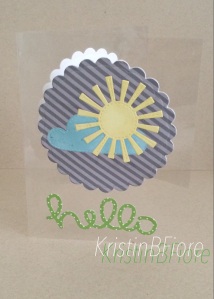
For the front of this card, I wanted to do some “die-cut inlaying.”  I took some pictures, so I will take you through it step-by-step in case you have never heard of this technique.  I first die cut a 3″ scalloped circle from Lawn Fawn’s Scalloped Circles Stackables for my background from a piece of Hippo Line Dance Paper out of my Let’s Polka 6×6 Petite Paper Pack. I also cut another scalloped circle from typing paper because I will need to have a base to adhere the pieced in die cuts to. I took the sun and largest cloud from the Spring Showers Lawn Cuts set and cut them out of some Neenah Solar White Cardstock.
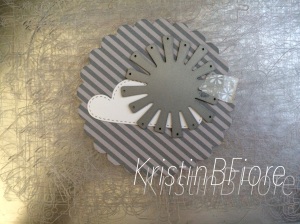
photo 5

I wanted my sun to be in front of the cloud, so I die cut the cloud again out of my already cut scalloped circle, placed my white scalloped circle inside, and then cut the sun (see the picture above!). This will allow me to color all my white cloud pieces and my sun, add some Xyron Permanent Adhesive all over my typing paper circle, and then piece them back inside of the circle to create a flat, one-layer look. Like this…
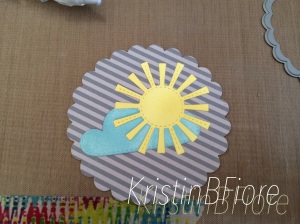
photo 1

Great technique right? It’s extremely versatile as well, allowing you to get a lot more use out of all your  dies!

I used some Simon Says Stamp Inks. I’m absolutely in love with them, but they haven’t added the links to their newest inks yet, so you can find the Lemon Chiffon Ink HERE. The Audrey Blue Ink is a little older and I was able to link it below in the supplies.
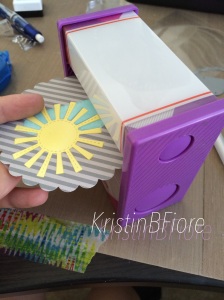
photo 2

Now for the really cool part… when making a clear card, most crafters have to add extra die cuts on both sides of the front and both sides of the inside layer of the card so that adhesive wont be seen through the acetate. NOT ANYMORE! For this card I only needed to use one for the front and one on the inside because the Xyron 3″ Sticker Maker turned my die-cuts into stickers with a thin layer of adhesive that is completely unseen from the other side. You just push you die into the machine…
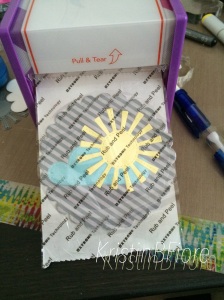
photo 3

… and pull it out the other end. Use a bone bolder to firmly press on and all around the die cut to make sure the adhesive goes on evenly.
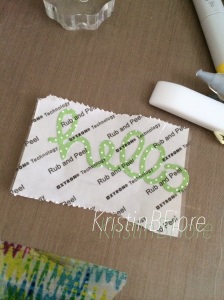
photo 3

I did the same technique again for my Scripty Hello sentiment. I also cut another scalloped circle from some Neenah Solar White, stamped a cute little buzzing bee from the Hello Sunshine Stamp Set, and once attached to a Clear Hero Arts Notecard – you’re done.  Assembly was a total breeze!  You could add a sentiment instead on the inside, but I felt the ‘hello’ on the front of the card was enough.
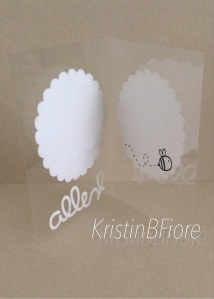
photo 2

As you can see… NO ADHESIVE MARKS on the inside from the card-front!  Xyron is a total time saver!

Here’s the finished card again…
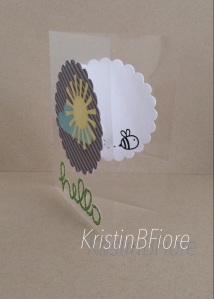
photo 1

Overall, here’s some tips for clear cards:

1.  You don’t want to see adhesive through the acetate – so if you don’t have a Xyron Sticker Maker, you’ll have to layer the back of the card-front and back of the inside with another die cut.

2.  Acetate gets dirty VERY easily and adhesive does not run off very cleanly all the time. Don’t take your acetate out until you’re ready to assemble your card. That way it stays clean, and there is no chance of something from your craft desk falling onto it and making a mess.

3.  Be creative! I have a feeling more and more people will be coming around to use these, so don’t be afraid to try something new on this futuristic type of card base.

Let me know if you have any questions, and have a great day!


SUPPLIES: